Electric Soldering Iron: Practical and Functional
Electric Soldering Iron: Practical and Functional
Couldn't load pickup availability
-
Ordered
- - -
Order Ready
- - -
Delivered
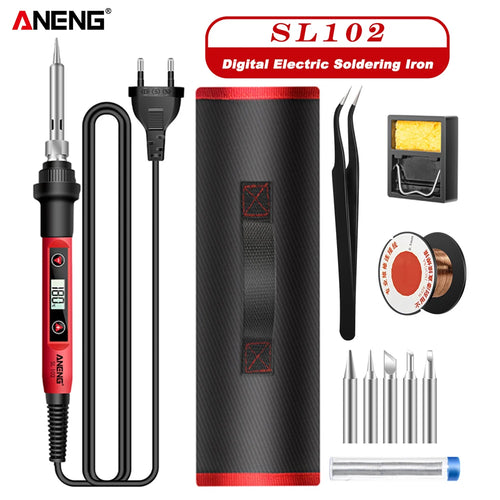
Electric Soldering Iron: Practical and Functional
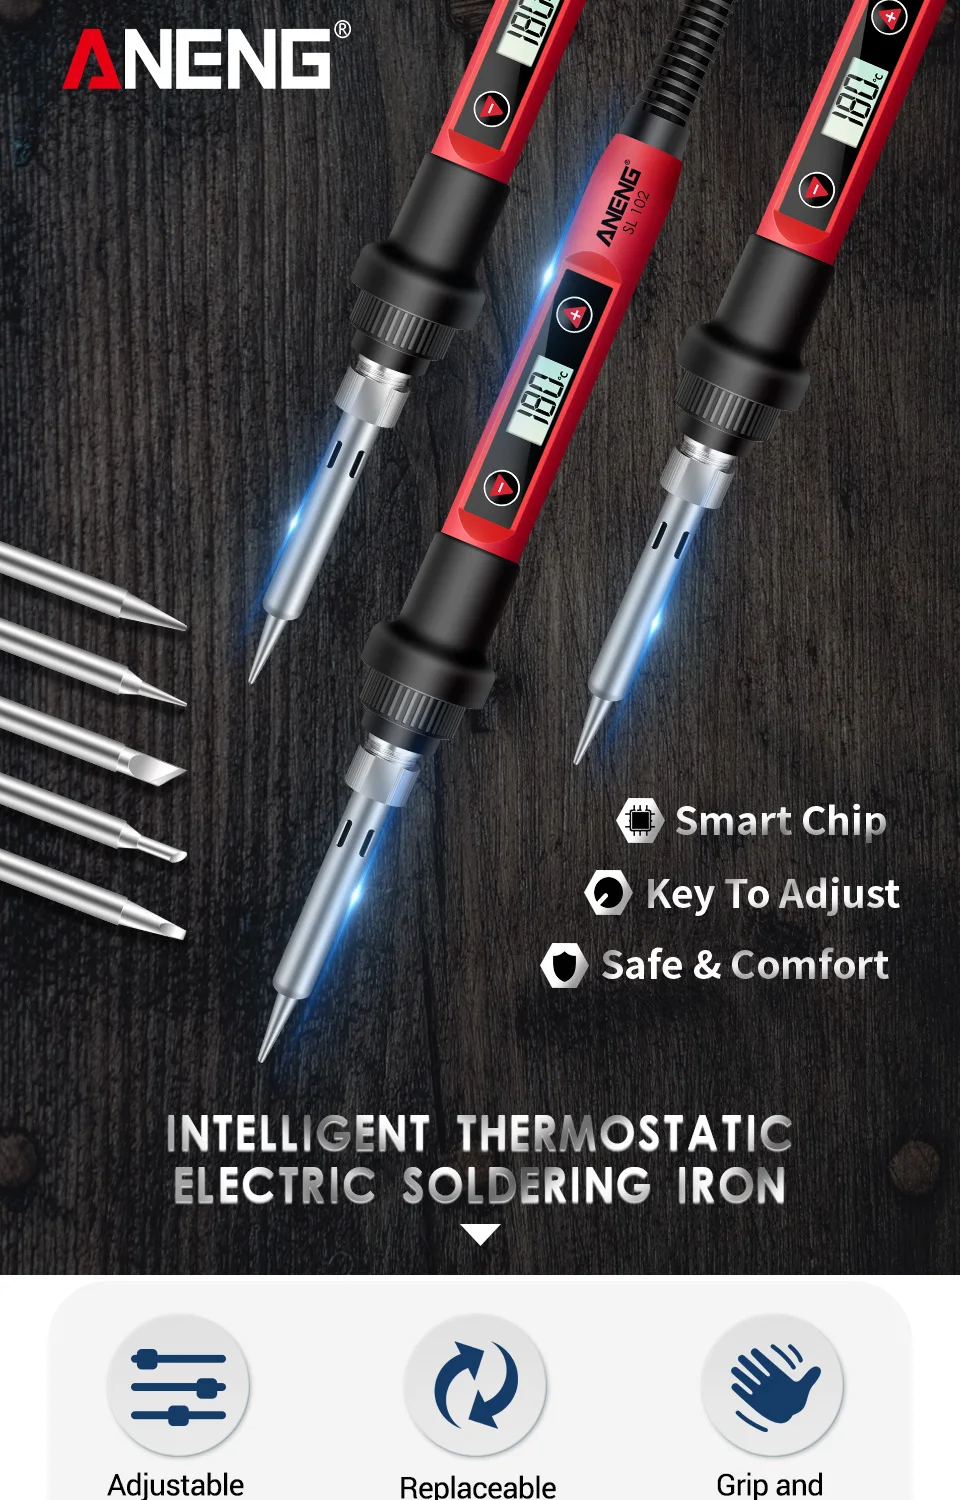
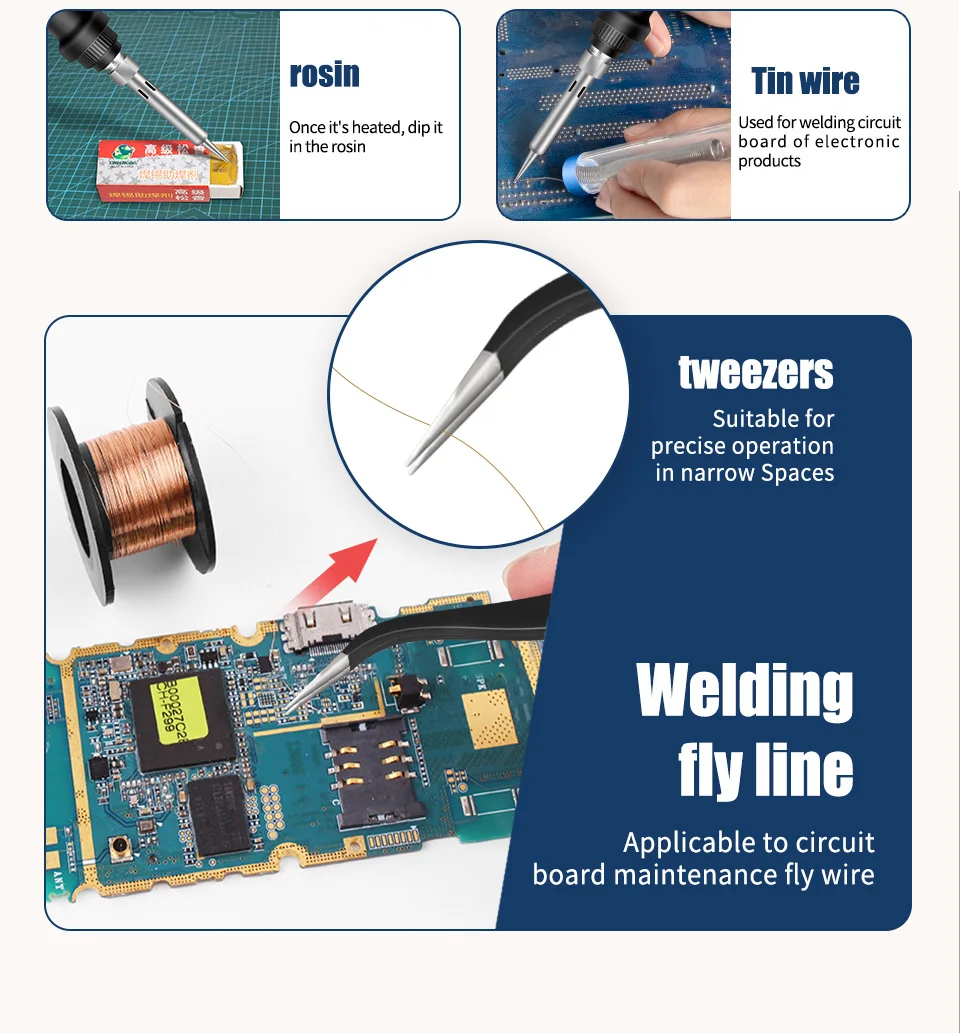
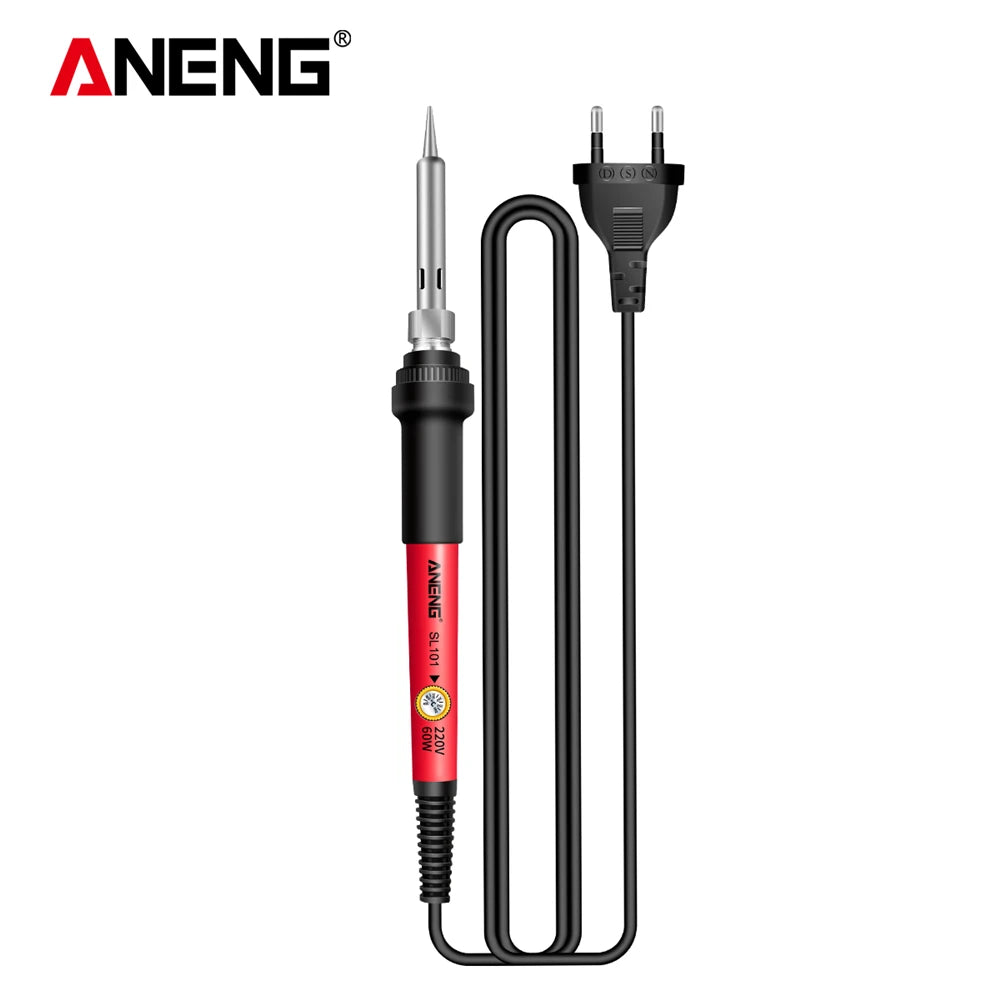
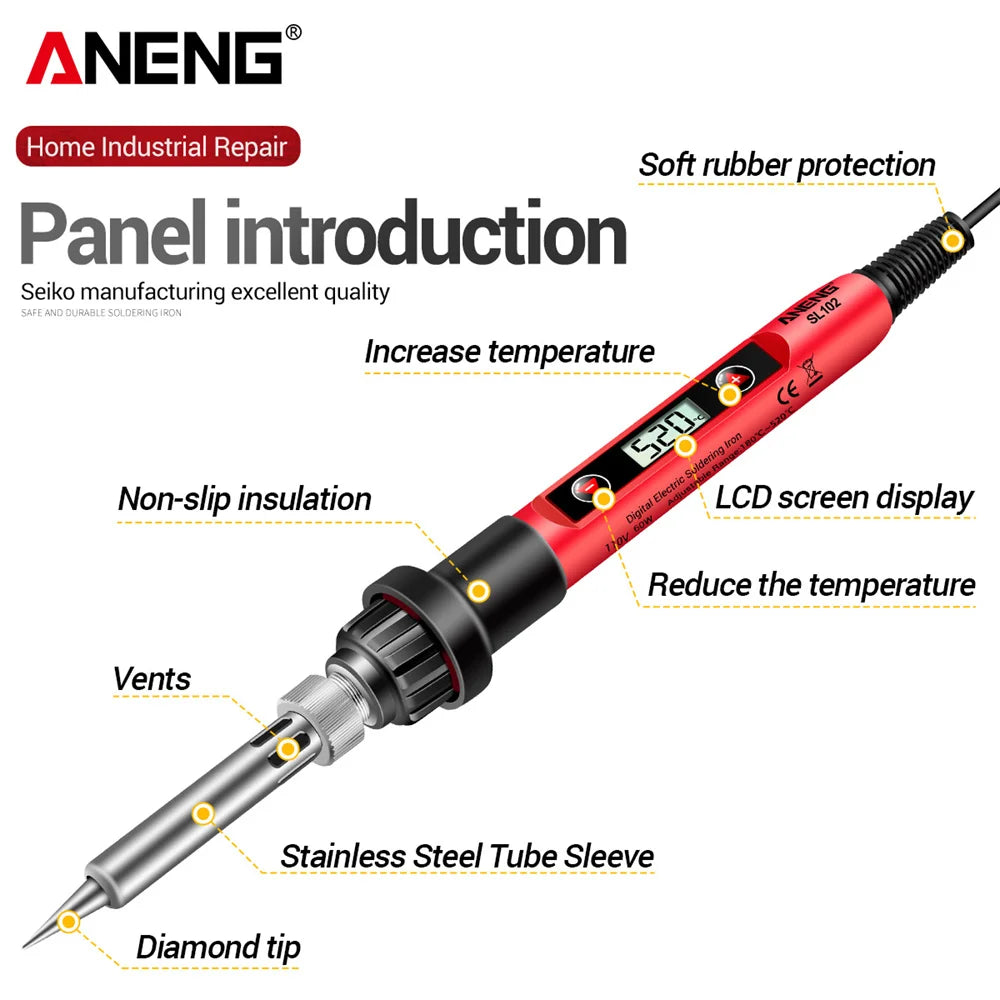
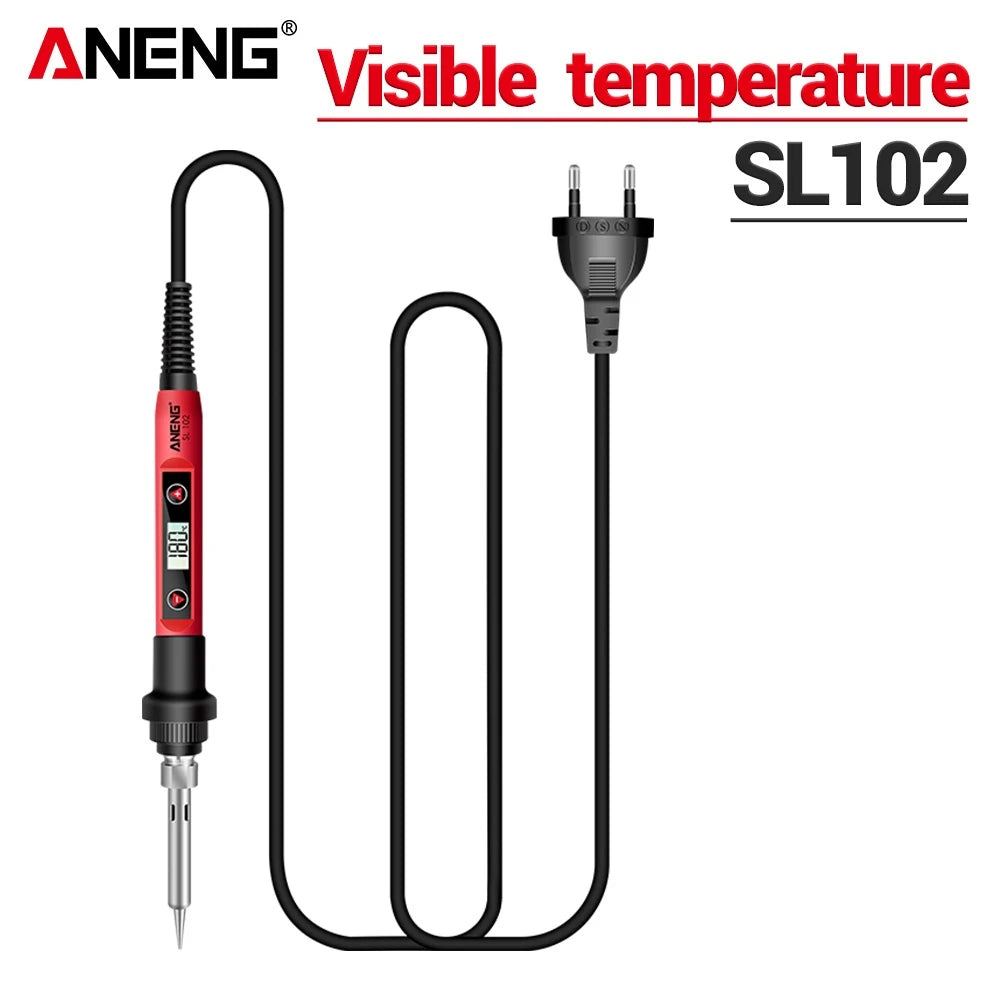
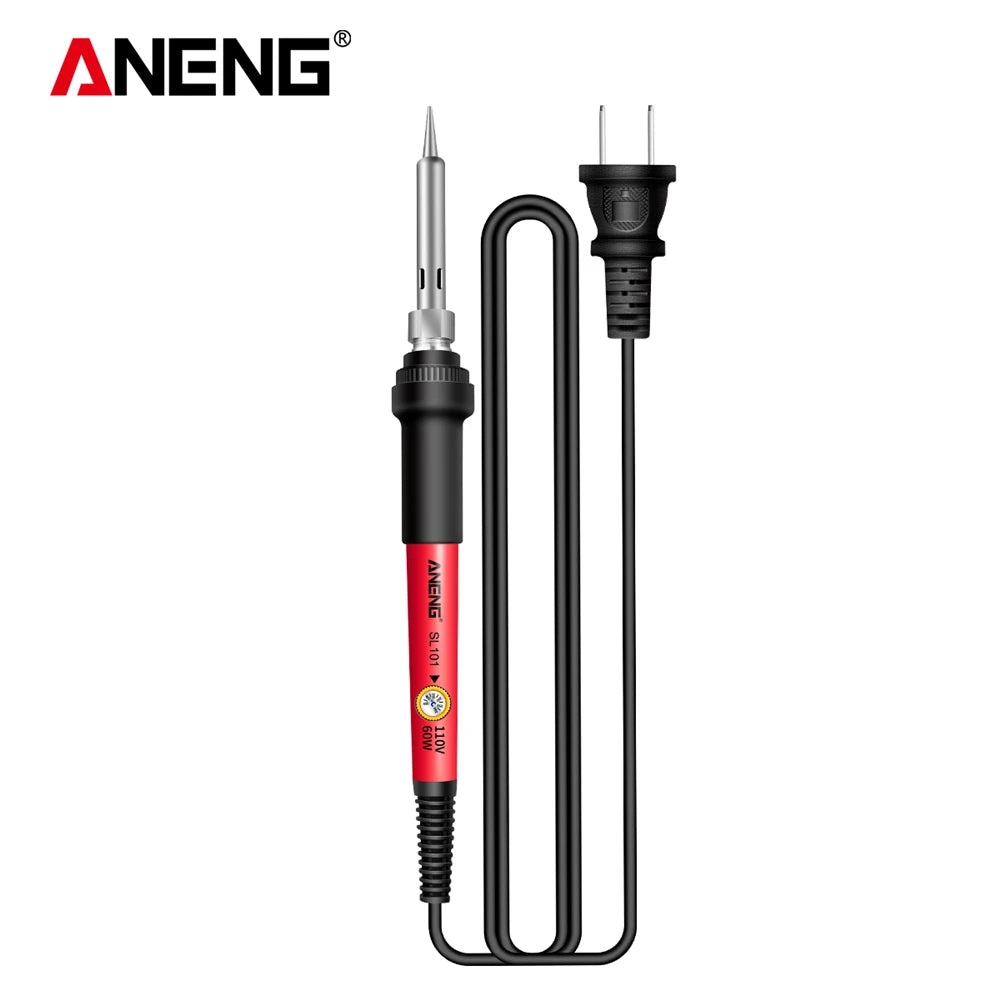
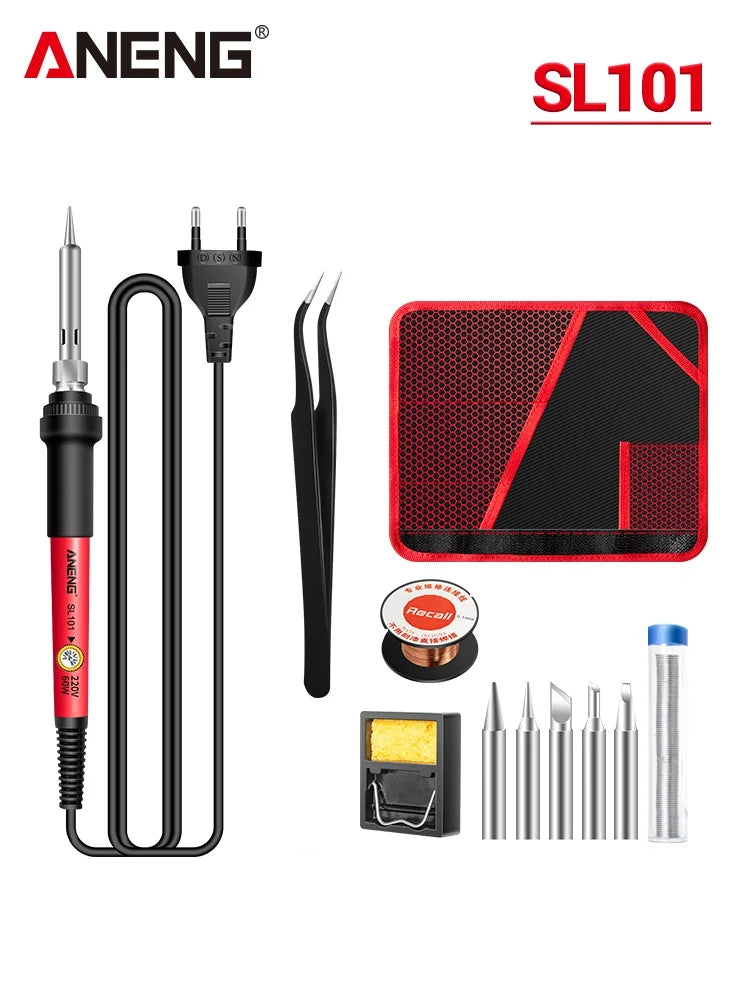
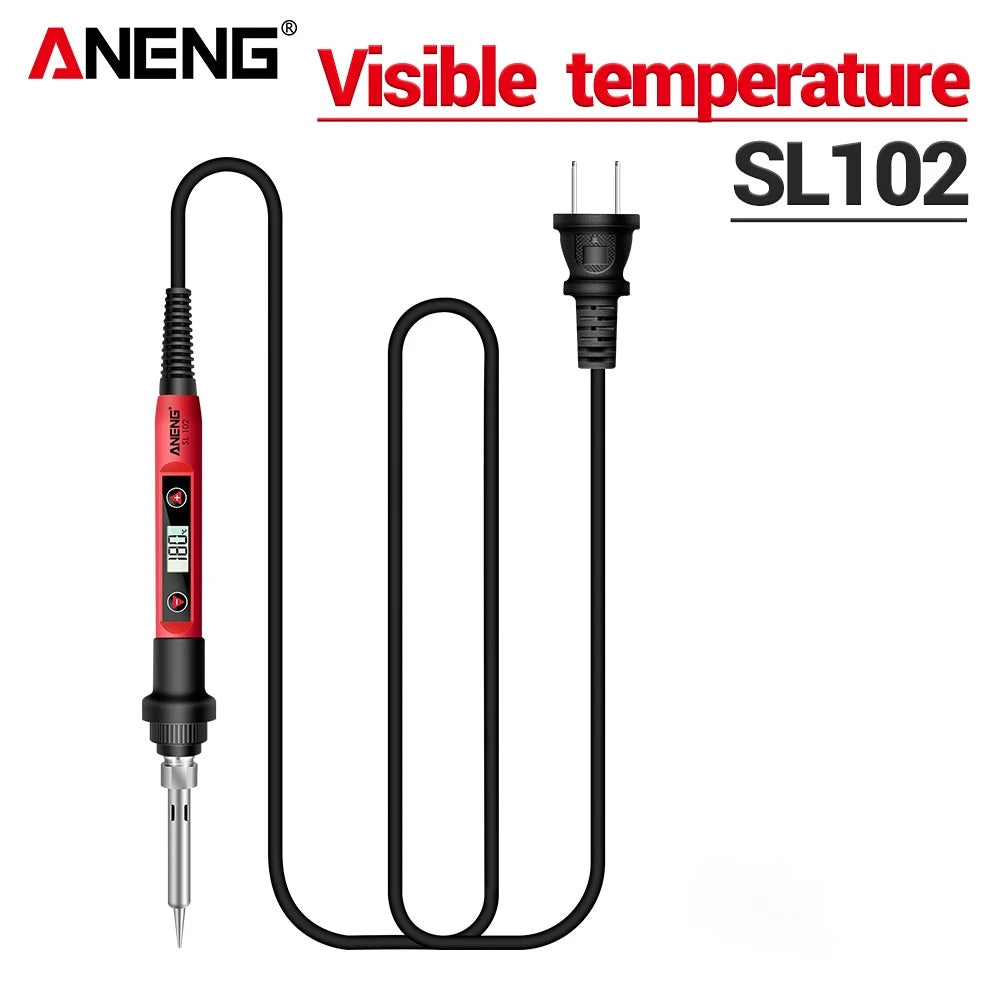
ANENG SL101/SL102 Electric Soldering Iron US/EU Plug
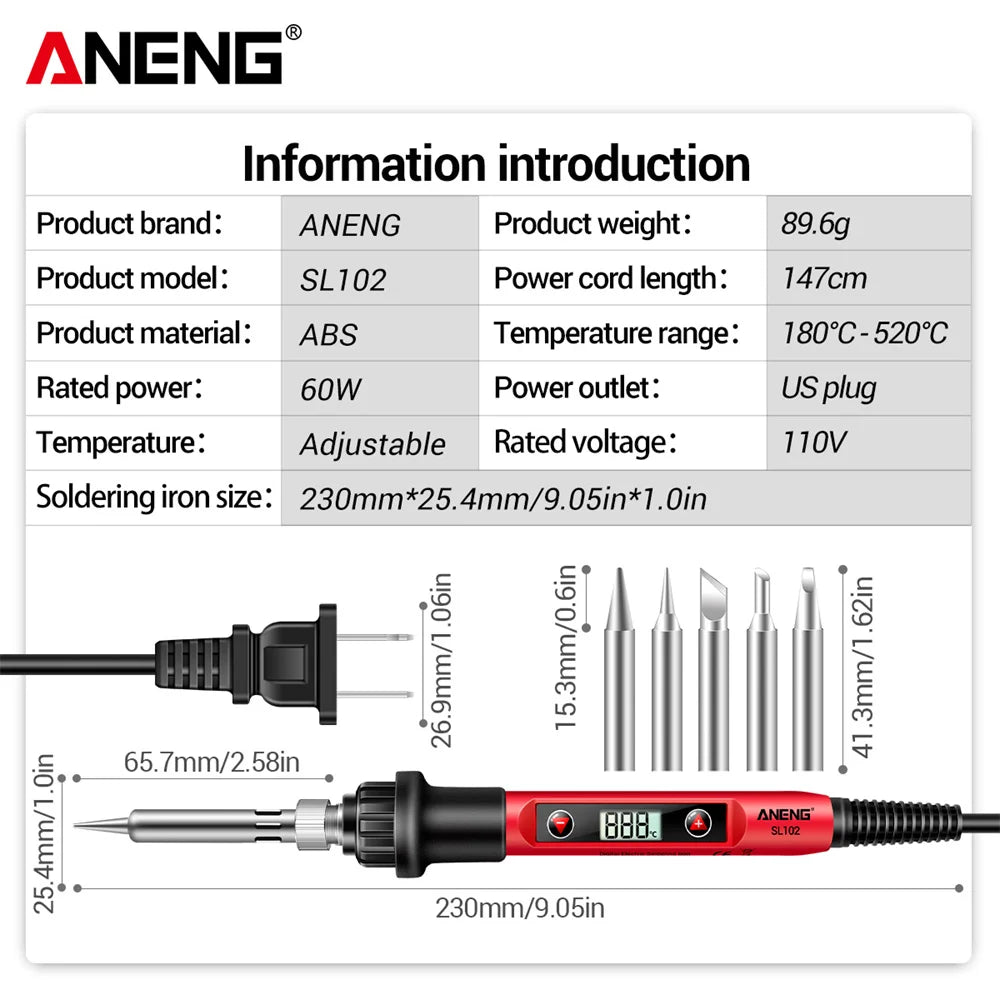
Brand: ANENG
Origin: Mainland China
Smart Device: No
Output Power: 60W
Dimensions: 210mm * 1.1m
Input Voltage: 110V/220V
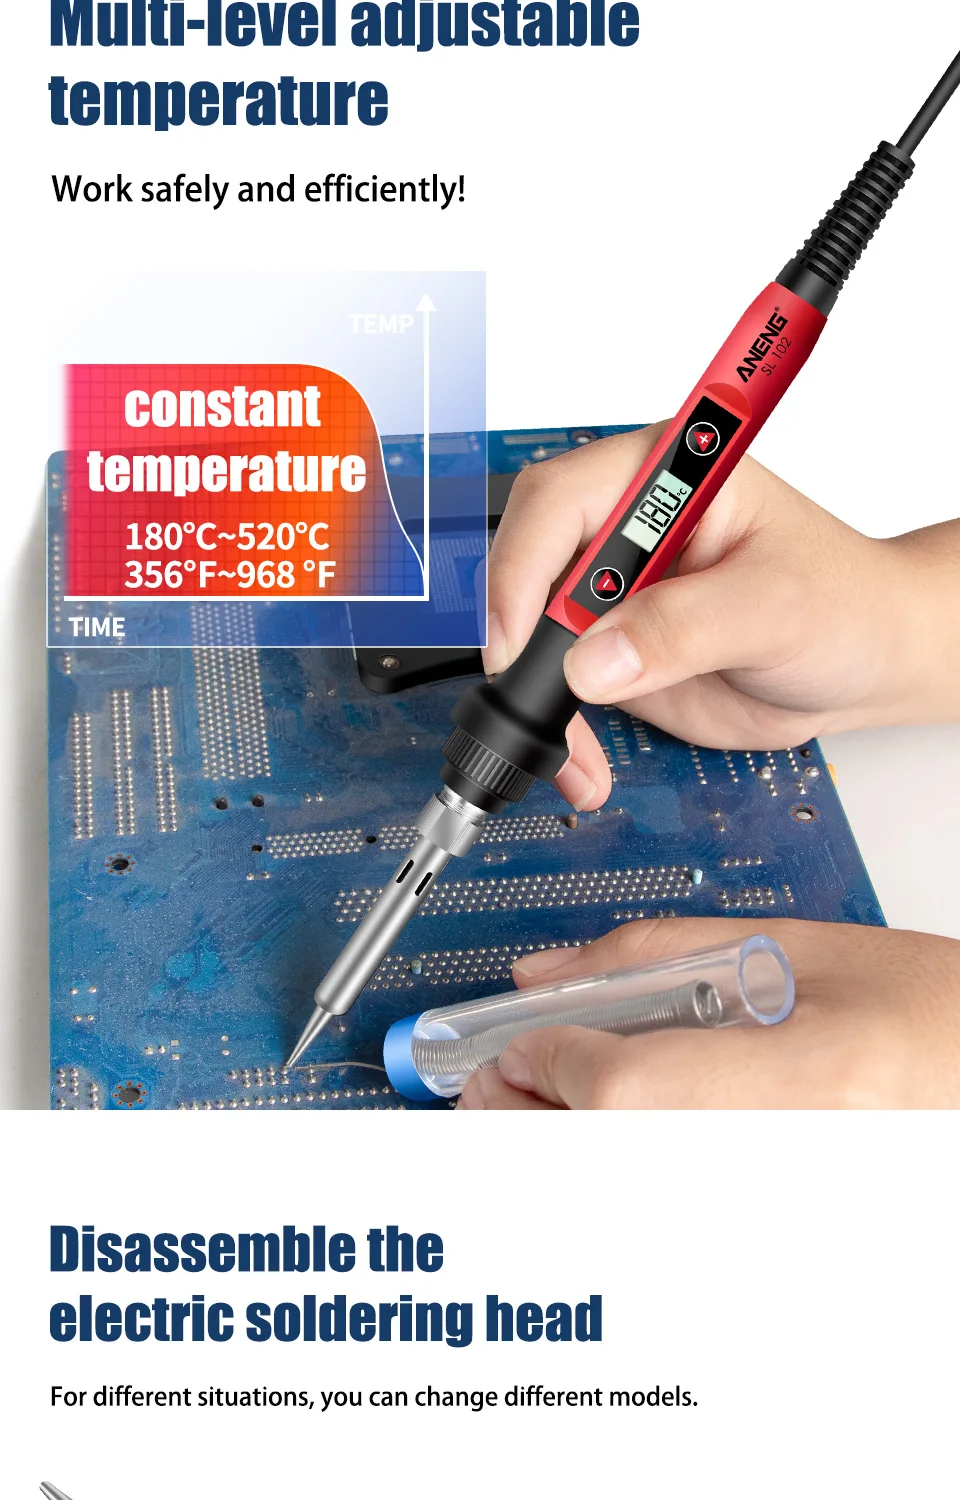
Output Temperature: 180 to 520
Temperature Stability: +-5
Certification: None
Model Number: ANENG SL101/SL102
Choice: Yes
ANENG SL101/SL102 Electric Soldering Iron US/EU Plug
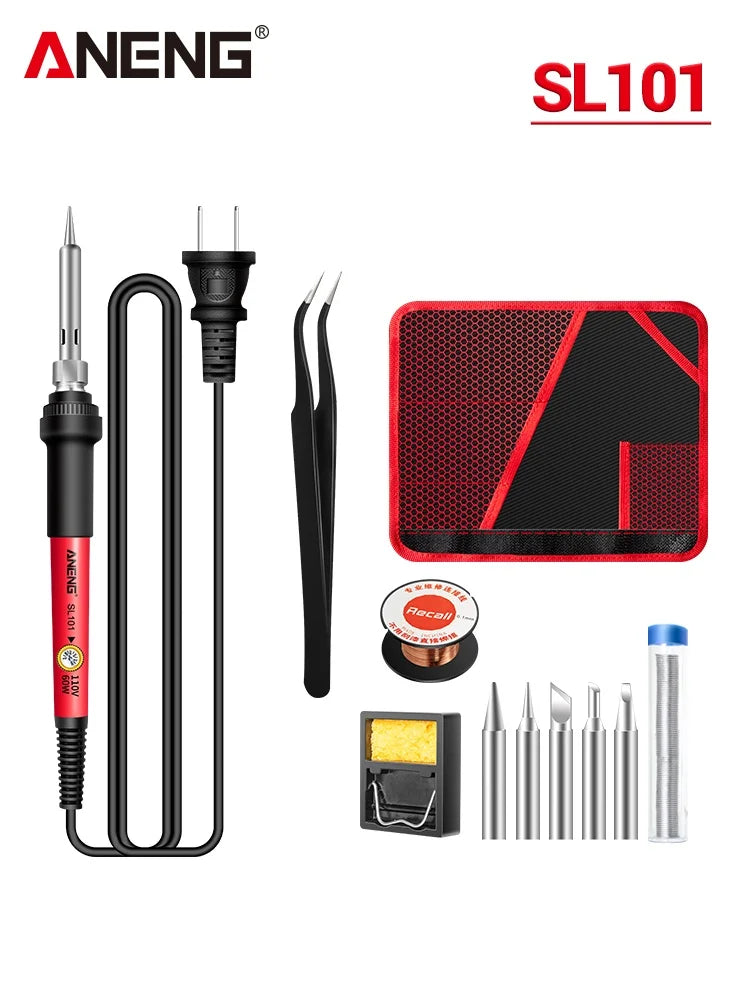
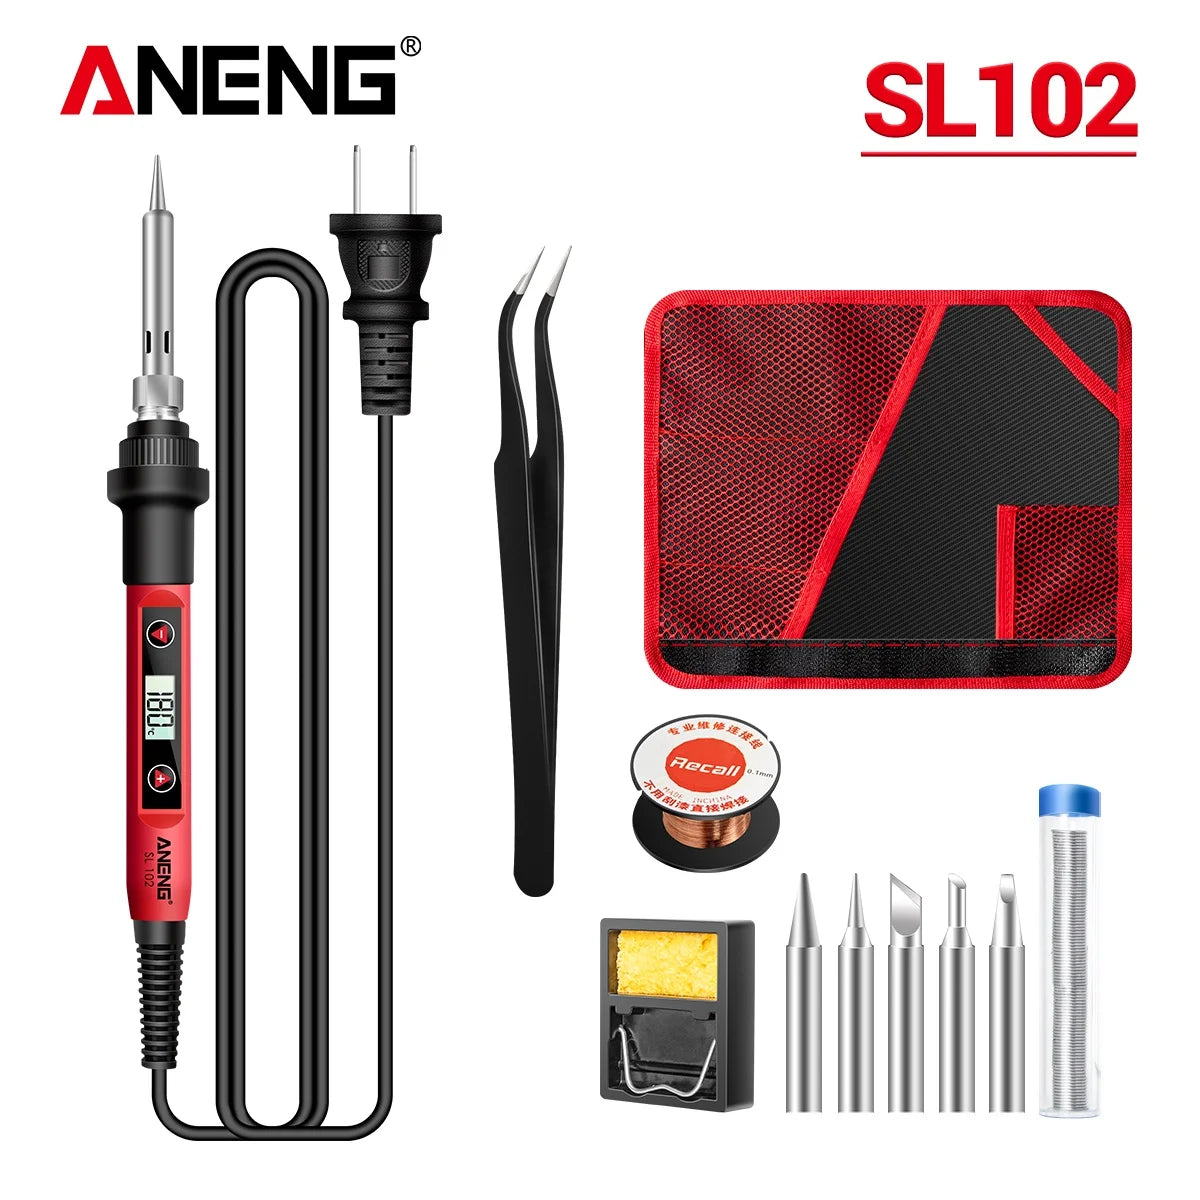
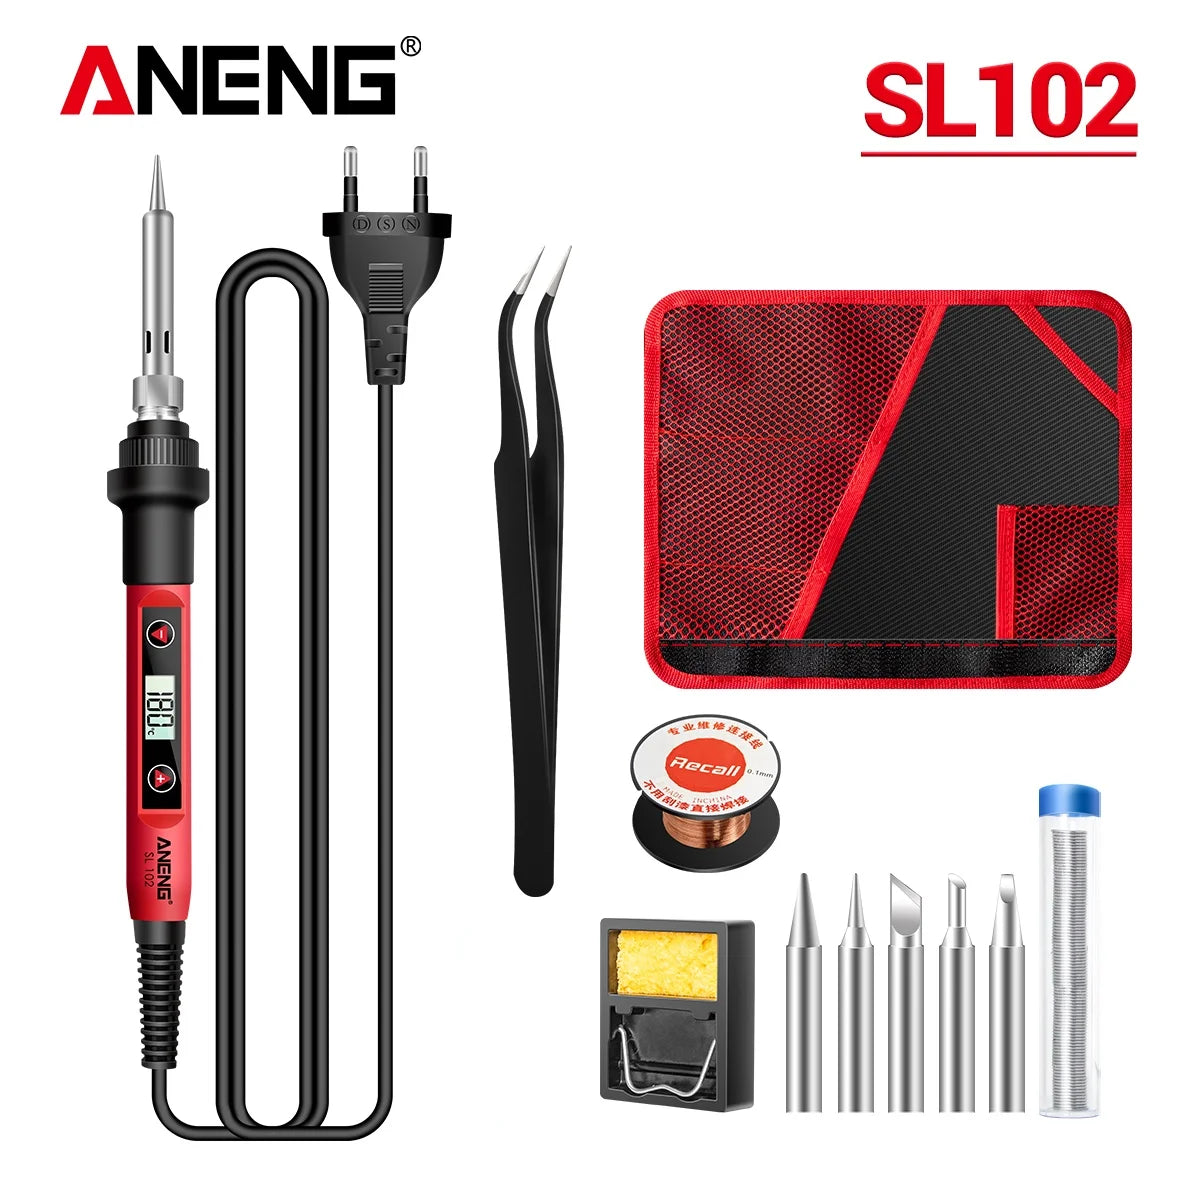
Options SL101 and SL102 represent different models.
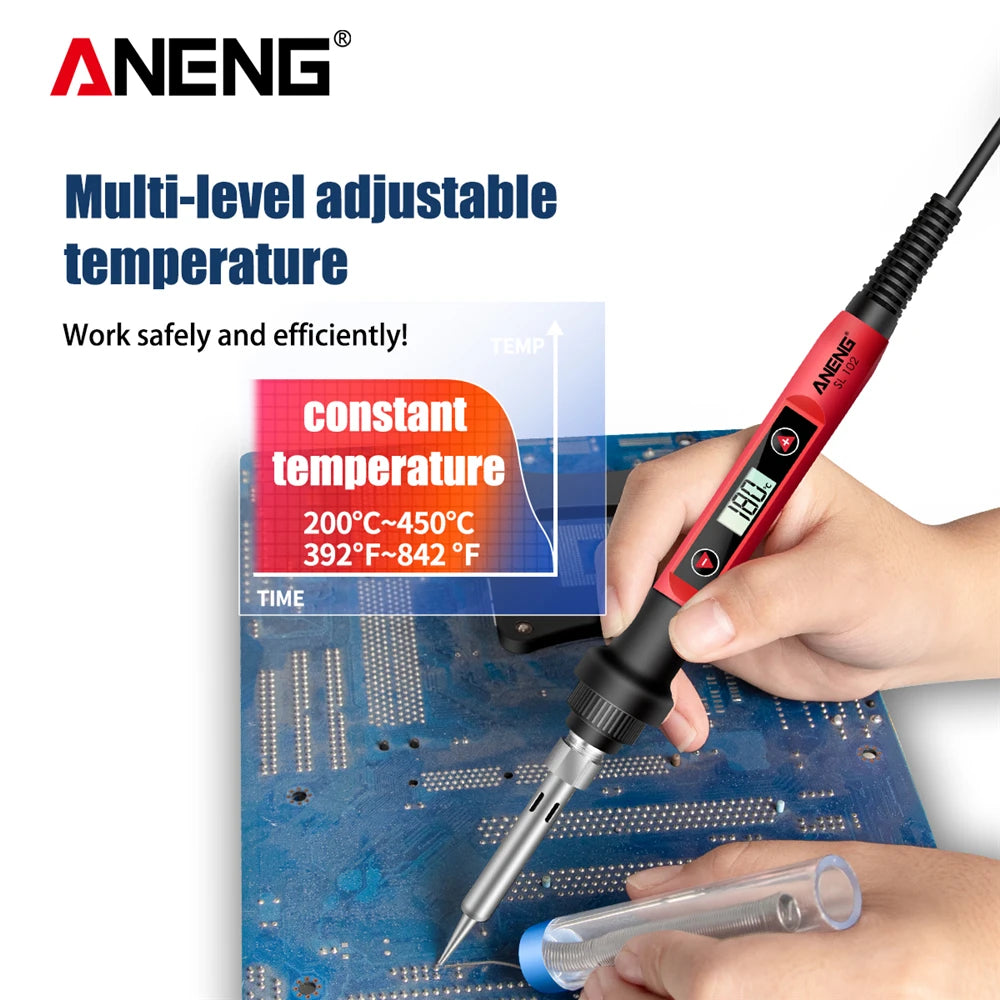
The temperature range of SL101 is: 200°C-450°C; without digital display.
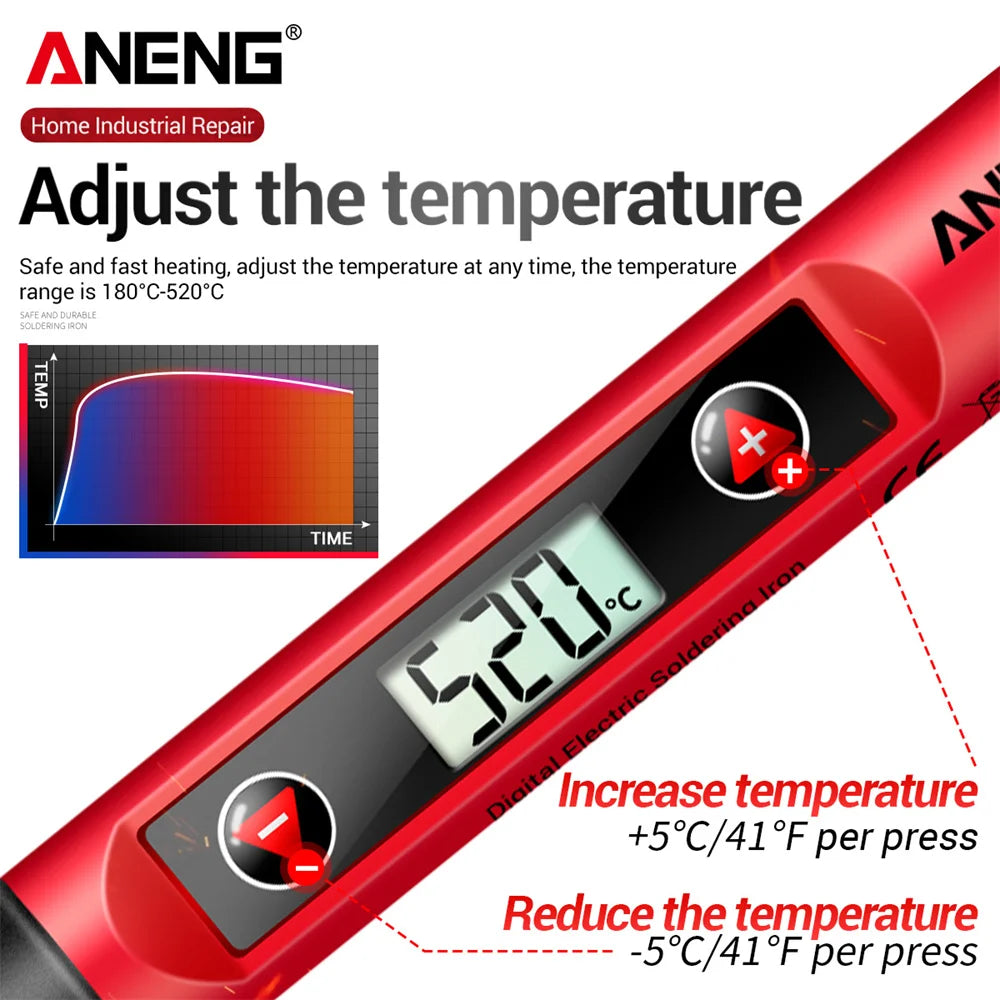
The temperature range of SL102 is: 180°C-520°C; with digital display.
Note:
EU Plug: 220V/60W
US Plug: 110V/60W
Temperature adjustment operation:
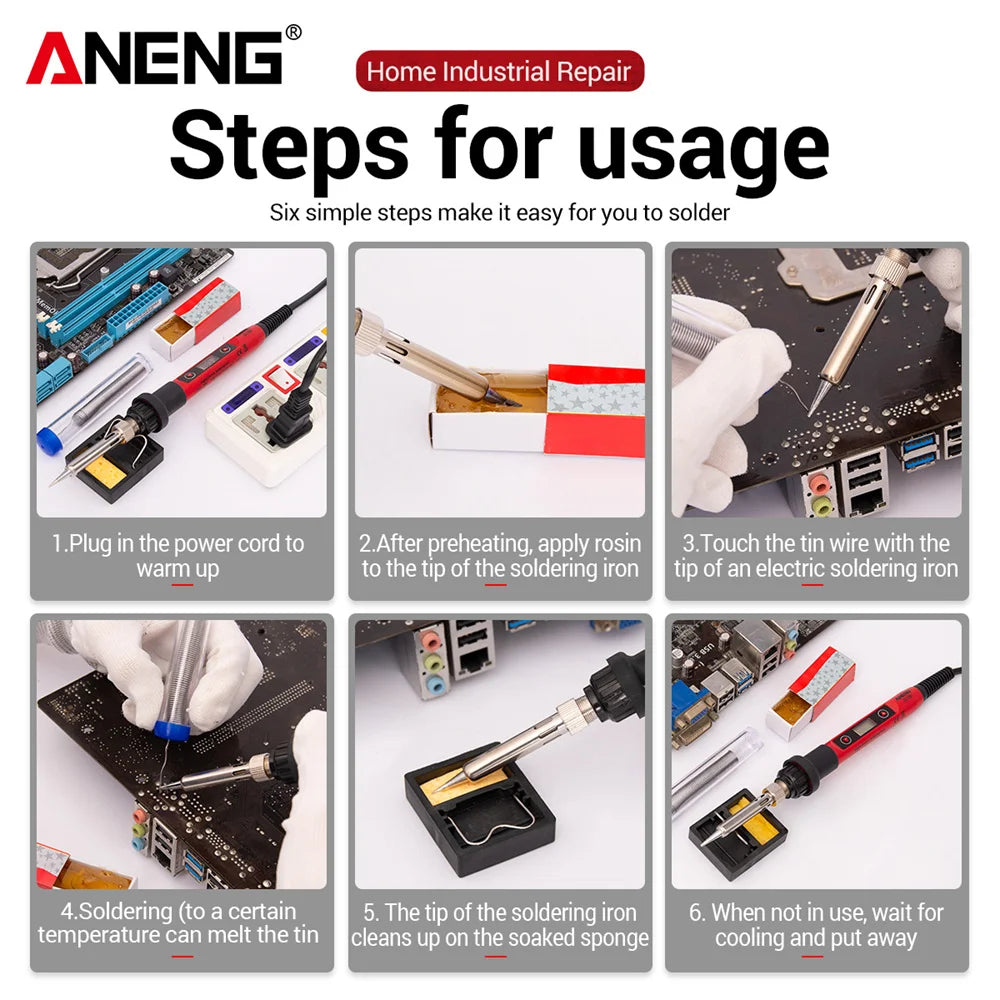
(1) Press the + button once to increase the temperature, and long press to increase continuously.
(2) Press the - button to decrease the temperature, long press to decrease continuously.
(3) When no button is pressed for 3 seconds, the newly set temperature will be memorized and maintained at the next startup.
(4) When the heating core reaches the set temperature, the temperature of the soldering iron tip can reach the set value after about 30 to 50 seconds.
Calibration operation: (Generally choose 320-degree calibration.)
(1) Place the soldering iron tip on the thermometer after powering on for 90 seconds, and add solder to the soldering iron tip to ensure full contact with the thermocouple.
(2) Wait for 2 to 4 seconds after the thermometer shows that the temperature stabilizes and record the thermometer temperature.
(3) Remove the soldering iron from the thermometer and press + and - simultaneously to enter the temperature calibration interface.
Input adjustment amount:
Example:
Set the temperature to 290°C, and the actual measured temperature is 282°C, then press to display 08°C on the LCD.
Set the temperature to 290°C, and the measured temperature is 300°C, then press to display -10°C on the LCD.
Press the + and - buttons simultaneously to exit the temperature calibration interface.
C/F conversion:
Press the + and - keys simultaneously when the power is off. Do not release them simultaneously. When the power is turned on, release the two keys when you see the LCD display. Then you will enter the setting menu. Press the + key to select C/F, and press the two keys simultaneously to exit the setting. In the setting state, stop heating, and start heating after exiting.
Included in the Package:
Choose by option.






I can’t get enough of these sneakers
Excellent
4.7/ 5
based on 1 067 reviews
Absolutely in love with these sneakers!
I can’t stop wearing them — they’re even better in person than I imagined. The denim detail gives them such a cool, unique vibe, and the comfort is next level. They go with everything, and I’ve gotten so many compliments already. Definitely my new favorite pair! I can’t stop wearing them — they’re even better in person than I imagined. The denim detail gives them such... I can’t stop wearing them — they’re even better in person than I imagined. The denim detail gives them such a cool, unique vibe, and the comfort is next level. They go with everything, and I’ve gotten so many compliments already. Definitely my new favorite pair!
Cathrine
Where Denim Meets Street Style
Effortless and bold, the Atmos x Sambae “Denim” brings classic textures with a fresh twist. Designed for daily wear, it combines soft comfort, a durable sole, and standout details that make every step iconic. Effortless and bold, the Atmos x Sambae “Denim” brings classic textures with a fresh twist. Designed for daily wear, it... Effortless and bold, the Atmos x Sambae “Denim” brings classic textures with a fresh twist. Designed for daily wear, it combines soft comfort, a durable sole, and standout details that make every step iconic.
Gemma H.
Love the vintage denim vibe
These sneakers are a perfect mix of retro and fresh. The denim texture gives them a unique look, and they’re super comfy right out of the box. These sneakers are a perfect mix of retro and fresh. The denim texture gives them a unique look, and they’re... These sneakers are a perfect mix of retro and fresh. The denim texture gives them a unique look, and they’re super comfy right out of the box.
Noah R.
Exactly what I wanted
The fit is spot on and the gum sole feels great. They look even better in person — definitely a statement piece for casual days. The fit is spot on and the gum sole feels great. They look even better in person — definitely a... The fit is spot on and the gum sole feels great. They look even better in person — definitely a statement piece for casual days.
Sarah M.
So comfortable and stylish
I get compliments every time I wear them! The mix of denim and suede feels luxurious and high-quality, and the craftsmanship really stands out. They go perfectly with everything — easily my new favorite sneakers. I get compliments every time I wear them! The mix of denim and suede feels luxurious and high-quality, and the... I get compliments every time I wear them! The mix of denim and suede feels luxurious and high-quality, and the craftsmanship really stands out. They go perfectly with everything — easily my new favorite sneakers.
Jason W
Worth Every Penny
The quality is outstanding—soft and comfortable on the inside, with a premium, durable finish on the outside. They look stylish and feel amazing for everyday wear. The quality is outstanding—soft and comfortable on the inside, with a premium, durable finish on the outside. They look stylish... The quality is outstanding—soft and comfortable on the inside, with a premium, durable finish on the outside. They look stylish and feel amazing for everyday wear.
Maria L.


